


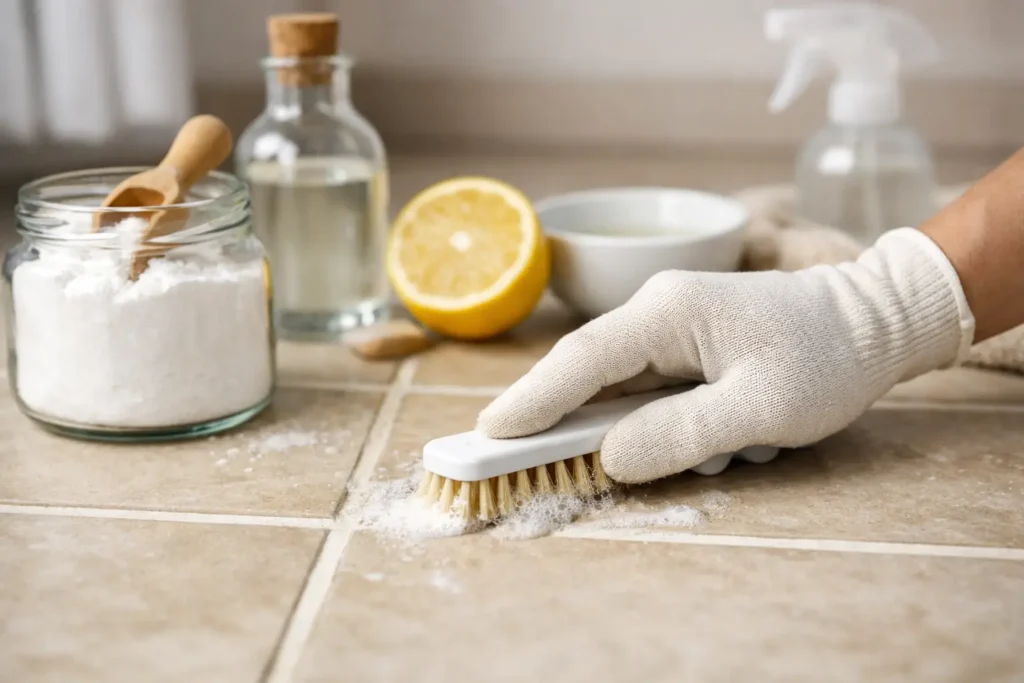
Grout has a sneaky talent for making an otherwise clean room look a little grimy. You mop the floor, wipe the tile, fluff the towels, and somehow those grout lines still look like they have secrets. If you’ve been wondering how to clean grout naturally, the good news is you probably already have what you need in your kitchen.
Natural grout cleaning works best when you match the method to the mess. A light dingy film needs a gentler touch than old bathroom buildup, and kitchen grout with grease on it behaves differently than shower grout with soap scum. That means there is no single magic trick, but there are a few reliable ones that are cheap, easy, and much less harsh than blasting your tile with strong chemical fumes.
How to clean grout naturally without making a bigger mess
Before you start mixing up a paste like a home-cleaning wizard, do one simple thing first. Sweep or vacuum the area well. Loose dirt turns into muddy grit once it gets wet, and that makes scrubbing harder than it needs to be.
Next, test your cleaner in a small, out-of-the-way spot. Most natural methods are mild, but grout can vary, especially if it is old, unsealed, or color-treated. Natural does not always mean risk-free. It just usually means you are working with simpler ingredients and fewer mystery fumes.
A soft or medium-bristle brush is your best friend here. An old toothbrush works for small spots, but for a floor, a small cleaning brush saves time and your wrist. Skip metal brushes. They can chew up grout and scratch surrounding tile.
The easiest natural grout cleaner: baking soda and water
If your grout looks dull more than truly dirty, start simple. Mix baking soda with a little water until it forms a thick paste. Spread it over the grout lines, let it sit for about 10 minutes, then scrub gently with your brush.
This works because baking soda gives you a mild abrasive action without being overly harsh. It helps lift surface grime and brighten dingy lines without leaving behind a strong smell. Wipe with a damp cloth or mop, then rinse with clean water.
For many households, this is the best first move because it is cheap, low-fuss, and safe for regular upkeep. It may not conquer years of deep staining on the first try, but it often makes a bigger difference than people expect.
When you need more muscle: baking soda and hydrogen peroxide
For bathroom grout or heavily stained tile, baking soda and hydrogen peroxide usually get better results. Mix baking soda with enough hydrogen peroxide to form a spreadable paste. Apply it to the grout, let it sit for 10 to 15 minutes, then scrub and rinse.
Hydrogen peroxide helps with discoloration and organic stains, which is why this combo is especially handy in bathrooms. It can brighten grout that looks gray or yellowed from moisture and daily use.
There is one catch. Hydrogen peroxide has a mild bleaching effect, so test it first if your grout is colored. On standard white or light grout, it is often a great fit. On dark or tinted grout, caution is worth the extra minute.
Does vinegar work on grout?
Yes, sometimes. White vinegar can help cut through soap scum and mineral buildup, especially in the bathroom. A simple mix of equal parts white vinegar and water in a spray bottle can be useful for sealed grout. Spray it on, let it sit for a few minutes, scrub, and rinse.
But this is where the fine print matters. Vinegar is acidic, and repeated use on unsealed grout can slowly wear it down. It is not the best everyday choice for every tile surface, and it should be avoided on natural stone tile like marble, travertine, or limestone because acid can damage the surface.
So if your tile is ceramic or porcelain and your grout is sealed, vinegar can be a helpful occasional cleaner. If you are not sure what kind of tile or grout you have, baking soda is the safer place to start.
For greasy kitchen grout, add a little dish soap
Kitchen grout has its own personality, and that personality is usually grease. If the grout near your stove or kitchen walkway looks dingy and sticky, plain baking soda may need backup.
Mix warm water with a few drops of dish soap and use that to loosen the greasy film first. After wiping that away, go in with a baking soda paste for the grout lines themselves. This two-step approach works better than trying to scrub greasy grime with a dry paste right away.
It is a small difference, but it saves effort. Grease tends to smear before it lifts, so breaking it down first makes the real cleaning part much easier.
Steam is natural too, and sometimes it wins
If you already own a steam cleaner, grout is one of the best places to use it. Steam helps loosen dirt, soap scum, and some mildew without requiring a bottle of anything. It is especially helpful in bathroom tile where buildup settles in layers.
That said, steam is not always ideal for damaged grout or older tile that is already loosening. Heat and pressure can make weak spots worse. If your grout is cracking or crumbling, cleaning alone will not solve the problem. At that point, you are looking at repair, not just cleanup.
What about mold and mildew?
A little surface mildew on grout can often be treated with hydrogen peroxide. Spray it directly on the area, let it sit for 10 minutes, scrub, and rinse well. Good ventilation matters here because mildew loves damp, stagnant spaces.
If mold keeps coming back fast, the real issue may be moisture, not your cleaning routine. A shower that never fully dries, a bathroom with poor airflow, or a hidden leak can keep grout looking bad no matter how often you scrub it. Cleaning helps, but prevention does the heavy lifting.
How to keep grout cleaner longer
Freshly cleaned grout has a short honeymoon phase unless you help it out a little. The easiest way to make your work last is to reduce what settles into the grout in the first place.
In bathrooms, use a squeegee or dry towel on tile after showers when you can. In kitchens, wipe spills before they sit and turn sticky. On floors, regular sweeping matters more than people think because dirt gets pushed into grout lines every time someone walks across it.
If your grout is not sealed, sealing it after a deep clean can make future cleaning much easier. Sealer does not make grout immortal, but it does give dirt and moisture fewer places to settle in. Think of it as a raincoat, not a force field.
Natural grout cleaning mistakes to avoid
The biggest mistake is scrubbing too aggressively. It feels productive in the moment, but overly rough brushes and hard pressure can wear down grout over time. Gentle persistence usually beats brute force.
Another common mistake is mixing random cleaners together. Even with natural ingredients, more is not always better. Stick with simple combinations you understand, and rinse well between methods.
Also, do not let soaking solutions sit forever. A few minutes is helpful. A long puddly soak can seep into grout and cause problems, especially if the area does not dry well afterward.
A realistic word on expectations
Sometimes grout is dirty. Sometimes it is stained. And sometimes it is just old. Natural cleaning methods can do a lot, but they cannot always reverse years of discoloration or damage.
That does not mean they are not worth trying. In fact, for most everyday grout cleanup, they are a smart first choice. They are budget-friendly, easy to use, and a lot less dramatic than heavy-duty chemical cleaners. For a CupRock kind of household, that is usually the sweet spot: practical, simple, and good enough to make the whole room feel fresher.
If your grout still looks rough after a serious cleaning session, you may need grout repair, color refresh, or regrouting. But in plenty of homes, a box of baking soda, a little peroxide, and ten minutes of honest scrubbing are enough to bring those tile lines back from the dead.
The nice thing about natural cleaning is that it does not ask for much. A few basic ingredients, a little patience, and a willingness to get into the corners usually do the trick.